First Step:
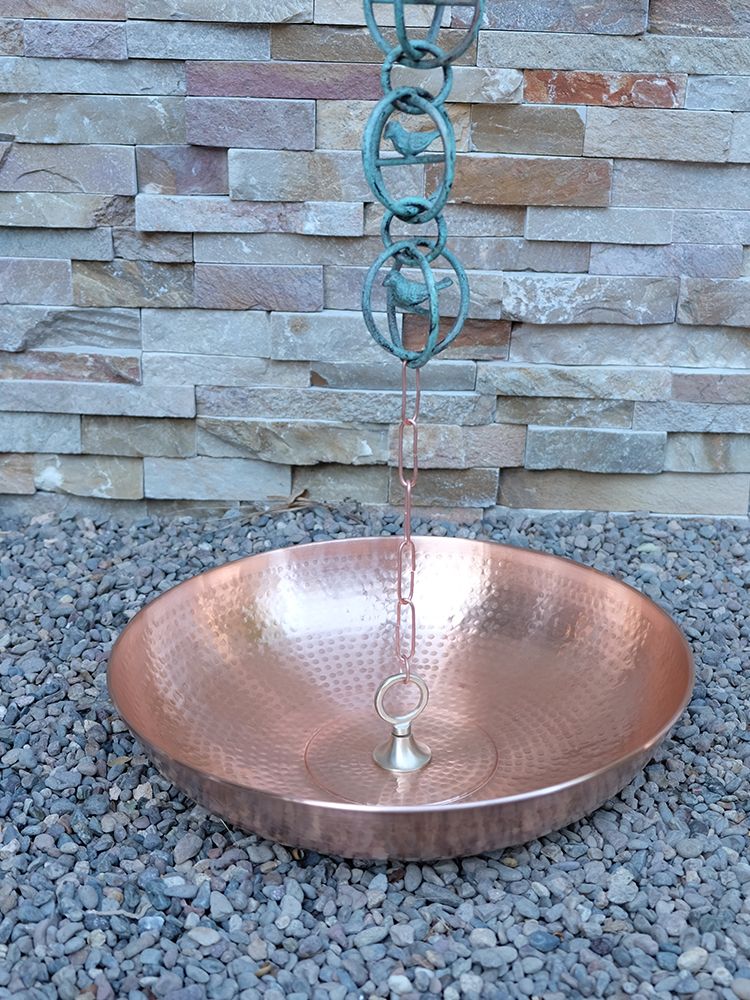
Now that you've installed your rain chain, it's time to attach it to your basin or dish. Wherever the bottom of the rain chain hangs is where you will want to place your basin. Keep in mind your basin or dish will have to be sitting on a solid surface in order for it to function properly. If you've purchased one of the basins or dishes that comes with a Loop-Kit, you'll have a 1-foot length of Copper Accessory Chain, this is what you’ll use to attach your rain chain to the basin or dish.
Second Step:
The Copper Accessory Chain is easily pliable, so you'll be able to open one of the links in the chain that best fits where your rain chain ends. Then you'll attach the Copper Accessory Chain link to the last link or cup in your rain chain. Simply bend the chain link back closed to complete the attachment process. Feel free to remove any extra Copper Accessory Chain links if necessary and keep them as spares.
Be sure you don't pull your rain chain too tight, because the extra tension could cause damage to the chain or your gutter overtime. If you leave too much slack, the rain chain could swing in the wind and cause damage. Make sure the chain hangs freely with a little slack in the chain, but not enough to hit anything when the wind blows. If you need extra accessory chain, we sell it in several different lengths separately.
Third Step:
Rain chain basins and dishes alone are usually not enough weight to hold down some of our larger rain chains in storms. We suggest filling the basins with decorative rocks to weigh them down and secure your rain chain in place. Many customers like to add drainage holes in the basins, so water will filter out after rainstorms!
Now sit back, relax, and admire your beautiful rain chain!
Click Here to Shop Accessories!